Combining photos and video clips is useful for a trip recap, family event, property walkthrough, progress report, class project, or product story. The software step is easy: add media, place it in order, and export. The difficult part is deciding what the audience should understand and how long each moment needs.
A reliable structure: open with context, move through the strongest moments in a clear order, and end with resolution. Use fewer files than you collected.
Step 1: define one sentence for the video
Before opening an editor, finish this sentence: “This video shows…” A useful answer might be:
- how an empty room became a home office;
- the route and highlights of a weekend hike;
- the preparation, ceremony, and celebration of an event;
- how a handmade product moves from raw material to finished object.
If the sentence needs “and also,” the project may contain two videos. A clear purpose makes file selection much easier.
Step 2: collect, then remove
Copy candidate photos and clips into a working folder without deleting the originals. Remove duplicates, blurred images, accidental recordings, and clips that repeat the same information. When two images communicate the same moment, choose the one with the clearest subject or strongest emotion.
A short montage with twelve distinct moments is usually more engaging than one with forty near-duplicates. Variety matters more than volume.
Step 3: choose an ordering principle
Chronological order is easy to understand, but it is not the only choice:
- Chronological: before, during, and after.
- Process: materials, steps, result.
- Spatial: outside, entrance, rooms, details.
- Emotional: anticipation, activity, quiet ending.
- Problem and result: what was wrong, what changed, what improved.
Choose one primary principle. A montage becomes confusing when it jumps between time, place, and topic without a reason.
Step 4: build a strong opening
The first item should establish either context or curiosity. A wide location photo explains where the story takes place. A short action clip creates immediate movement. A finished-result image can work when the rest of the montage explains how you got there.
Avoid opening with a long title card unless the title contains information viewers truly need. The first visual can often communicate more quickly.
Step 5: set photo duration by content
There is no perfect duration for every still image. Use the amount of information as your guide:
- 1.5–2.5 seconds: a simple face, object, or repeated detail.
- 3–4 seconds: a group photo, landscape, room, or image with several points of interest.
- 4–6 seconds: a diagram, sign, document, or photo containing text that must be read.
These are starting points, not laws. Preview the sequence at normal speed. If you feel pushed away before understanding the image, add time. If your attention wanders, shorten it.
Step 6: trim video clips to one purpose
Each clip should contribute one action or idea. A ten-second clip may contain only three useful seconds. Remove the moment before the camera settles and the moment after the action finishes. Keep enough context that the viewer understands what happened.
Use the trimming checklist for boundaries. In a montage, abrupt audio starts and unfinished movement are especially noticeable because the next item arrives immediately.
Step 7: manage mixed orientations
Photos and clips may be landscape, portrait, square, or panoramic. Decide the final video shape before arranging them. Cropping everything to one ratio creates a full frame but may remove important detail. Preserving each item can produce empty space around some media but keeps the complete image.
Consistency helps, but preservation matters more. A portrait photo of a full person should not lose the head and feet merely to imitate a landscape clip. Read the aspect-ratio guide before making aggressive crops.
Step 8: use simple cuts intentionally
Transitions are not required for a polished montage. A clean cut works when neighboring items share a relationship: the same place from wide to close, a process before and after, or a movement that continues in the same direction.
If every boundary uses a dramatic effect, the effect becomes the subject. Let the material carry the story. Use visual contrast—wide shot, detail, person, action—to create rhythm without decoration.
Step 9: think about audio continuity
Video clips may contain their own sound while photos are silent. This can create sudden jumps between room noise, speech, music, and silence. Decide whether natural clip audio is important. If it is, place related clips together and avoid cutting words in half.
If you plan to add one music track in another editor later, first build a visual sequence whose pacing works without music. Music should strengthen the edit, not hide confusing timing.
Step 10: preview the entire sequence
Do not review items only one at a time. Watch from start to finish without touching the controls. Note where you become confused, impatient, or surprised for the wrong reason. Then make one type of change at a time:
- reorder an item when the story jumps;
- shorten a still when the pace stalls;
- lengthen a still when text cannot be read;
- trim a clip when the camera setup is visible;
- remove an item when it repeats the previous point.
Export and review outside the editor
Save a separate MP4 and watch it in a normal player. Confirm that every photo appears, the order matches the preview, image durations feel correct, audio remains synchronized, and the final frame does not disappear too quickly.
If the file must fit an upload limit, compress only after the order and duration are final. The video size guide explains how to reduce data without making every scene unnecessarily soft.
- The video has one clear purpose.
- Every item adds new information or emotion.
- The ordering principle is easy to follow.
- Text-heavy photos remain long enough to read.
- Video clips begin and end cleanly.
- Mixed orientations do not hide important subjects.
- The full exported video has been watched once without stopping.
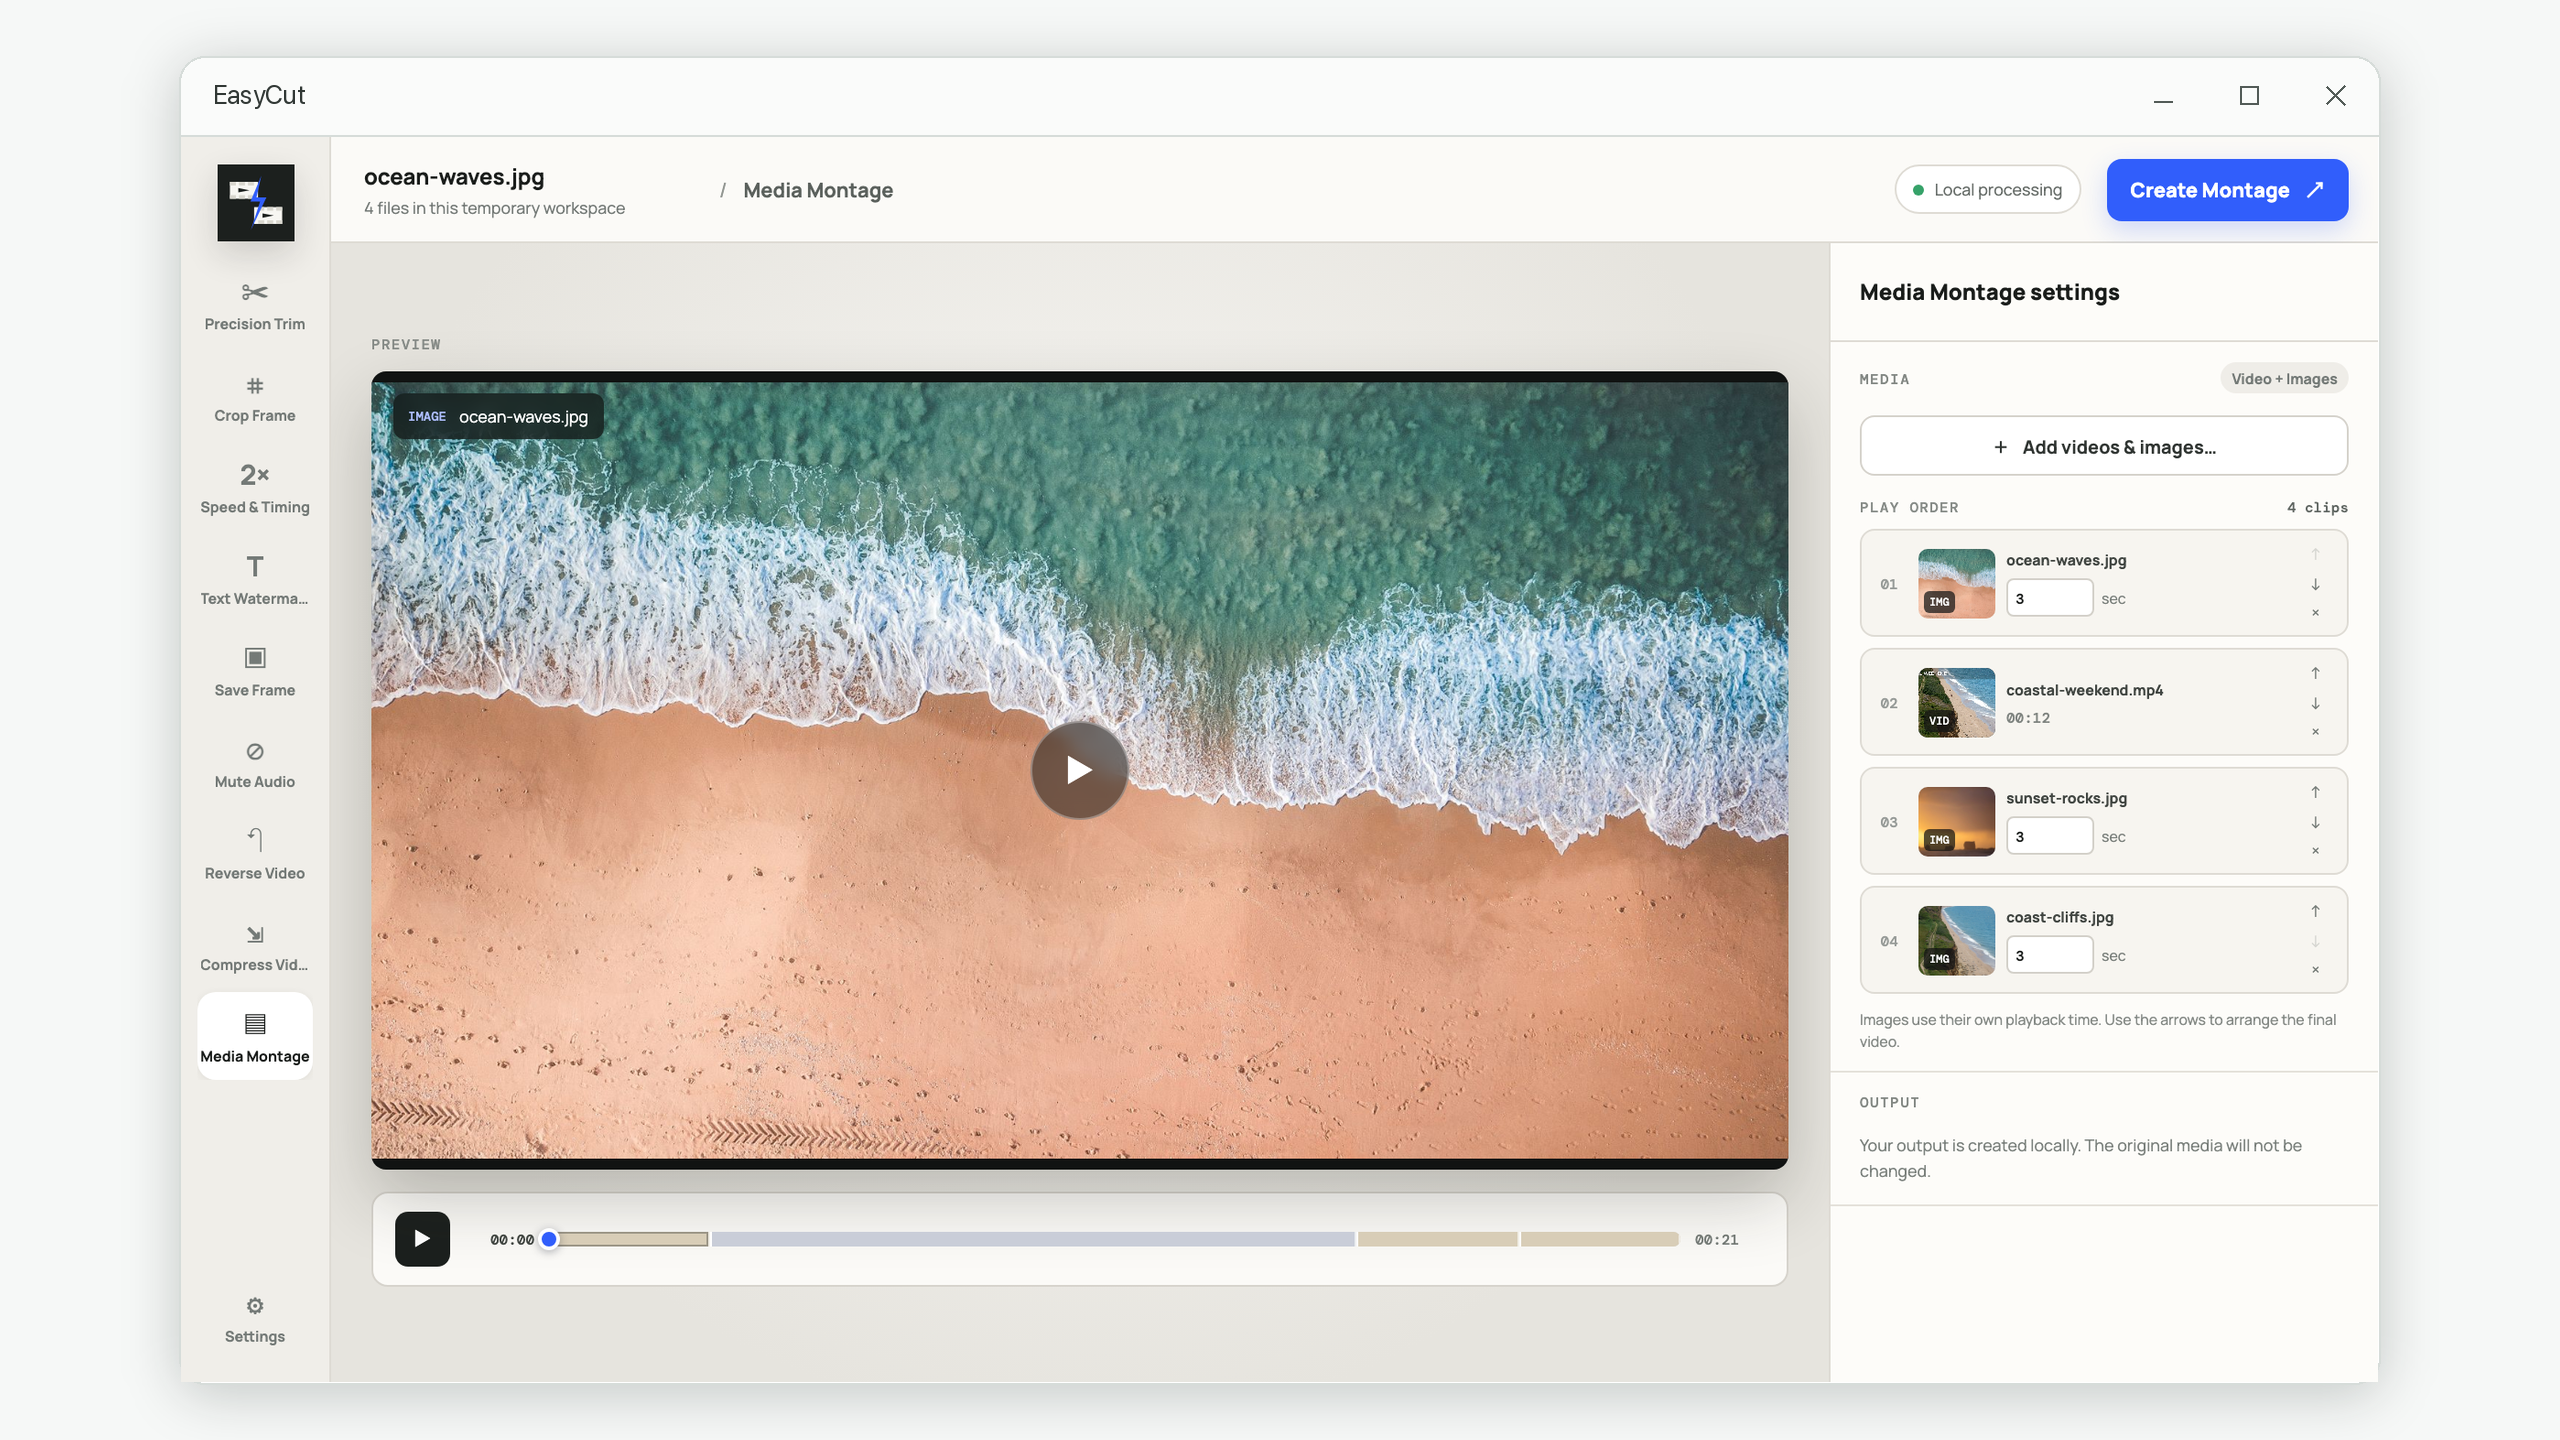
A focused montage workflow on Windows
EasyCut’s Media Montage accepts videos and timed images, lets you change their order, and provides a continuous preview that matches the exported sequence. It is designed for a direct assembly workflow rather than a layered effects project. Add the selected media, set each image duration, arrange the play order, preview the complete sequence, then create a local MP4.