A large video file is not automatically a high-quality video. It may be long, use more pixels than the destination can display, contain an unnecessarily high frame rate, or simply be encoded inefficiently. Good compression finds the waste before it removes visible detail.
Use this order: trim unwanted time, choose the correct dimensions, keep a sensible frame rate, then adjust compression. Duration is the safest thing to reduce because deleted seconds cannot become blurry.
First, identify the real limit
“Make it smaller” is not a complete target. Find out why the file is too large:
- An email service may reject attachments over a fixed number of megabytes.
- A learning portal may allow a larger file but require a specific format.
- A website may accept the upload yet load slowly for visitors.
- A phone or USB drive may simply be running out of storage.
Write down the maximum file size, accepted format, and expected viewing size. A 4K archive and a video embedded at 720 pixels wide should not use the same settings.
The five things that control video size
1. Duration
All else being equal, a two-minute video uses roughly twice the data of a one-minute video. Removing mistakes, setup time, repeated explanations, and a long static ending reduces size without reducing the quality of the remaining frames.
2. Resolution
Resolution is the pixel width and height, such as 3840×2160, 1920×1080, or 1280×720. Cutting both dimensions in half leaves one quarter as many pixels to encode. That can create a large saving, but only do it when the destination does not need the original size.
3. Frame rate
Frame rate describes how many pictures appear each second. Fast sports, gameplay, and camera movement benefit from 50 or 60 frames per second. A lecture, slideshow, or mostly static screen recording may look fine at 24 or 30. Reducing frame rate can save data, but careless conversion can make movement judder.
4. Bitrate and quality level
Bitrate is the amount of data used over time. More data usually preserves more detail, especially in water, grass, confetti, grain, or rapid motion. Too little produces blocky textures, smeared movement, and bands in gradients. Quality-based compression adjusts the data according to scene complexity instead of forcing every second to use the same amount.
5. Codec
The codec is the method used to compress the picture. Newer codecs can deliver similar quality with less data, but playback support varies. For a file that must open almost everywhere, broad compatibility may be more valuable than the smallest possible size.
A safe step-by-step compression workflow
Step 1: keep the original
Make the smaller version as a new file. Compression throws information away, and you cannot restore fine detail later by increasing a quality setting. The original is your archive and your source for any future export.
Step 2: trim before compressing
Remove unwanted time first. If a ten-minute recording contains only seven useful minutes, trimming can cut the data requirement by about thirty percent before the encoder makes a single visual compromise. Follow the quality-conscious trimming workflow if your boundaries need attention.
Step 3: match the destination dimensions
Keep 1080p when viewers will watch full-screen on modern laptops or televisions. Consider 720p for a small embedded tutorial, a quick review copy, or a file that will be viewed mainly on phones. Avoid reducing dimensions merely because the source is large; base the choice on the actual destination.
Step 4: make a short test
Before compressing an hour-long video, export a representative 20–30 second section. Choose a section with movement, faces, text, shadows, and detailed textures. A static title card tells you almost nothing about how the difficult scenes will survive.
Step 5: compare at normal viewing size
Place the source and compressed version side by side. Watch at the size the audience will use, then inspect full-screen once. Pay attention to text edges, faces, movement, dark gradients, and small repeated patterns. Pause only after watching normally; viewers experience motion, not isolated pixels.
What should you reduce first?
- Unneeded duration: no quality cost to the moments you keep.
- Excess resolution: reduce only when the destination is smaller than the source.
- Excess frame rate: useful for static material, risky for fast movement.
- Compression quality: adjust gradually and test demanding scenes.
- Audio bitrate: can help, but audio is usually a smaller share than video.
Why text and screen recordings need special care
Screen recordings often contain thin text, sharp window borders, and large flat areas. They may look clean at a surprisingly low data rate until small type begins to shimmer or blur. Do not judge only the mouse movement. Zoom in on menus, code, spreadsheet cells, and captions.
When text must remain readable, preserve the original dimensions if possible and reduce frame rate before reducing resolution. A static 1080p tutorial at 30 fps may use data more effectively than a soft 720p version at 60 fps.
Why phone footage can be difficult to compress
Handheld camera motion makes nearly every part of the frame change. Leaves, waves, hair, rain, and low-light noise add even more complexity. These scenes need more data than a stable interview against a plain wall. Stabilizing the shot during recording, using adequate light, and avoiding unnecessary digital grain can improve compressibility before editing begins.
Common compression mistakes
- Compressing the same export repeatedly: start from the source for every attempt.
- Testing only a static frame: quality problems often appear during motion.
- Reducing resolution and bitrate aggressively at the same time: change one major variable so you know what caused the damage.
- Ignoring upload limits until the end: use a clear target size before choosing settings.
- Assuming the smallest file is the best result: the best file is the smallest one that still serves its purpose.
- The result is below the actual upload or storage limit.
- Text remains readable at normal viewing size.
- Faces and moving edges do not break into blocks.
- Dark gradients do not show distracting bands.
- Audio remains clear and synchronized.
- The original source is still safely stored.
Using a simple Windows compressor
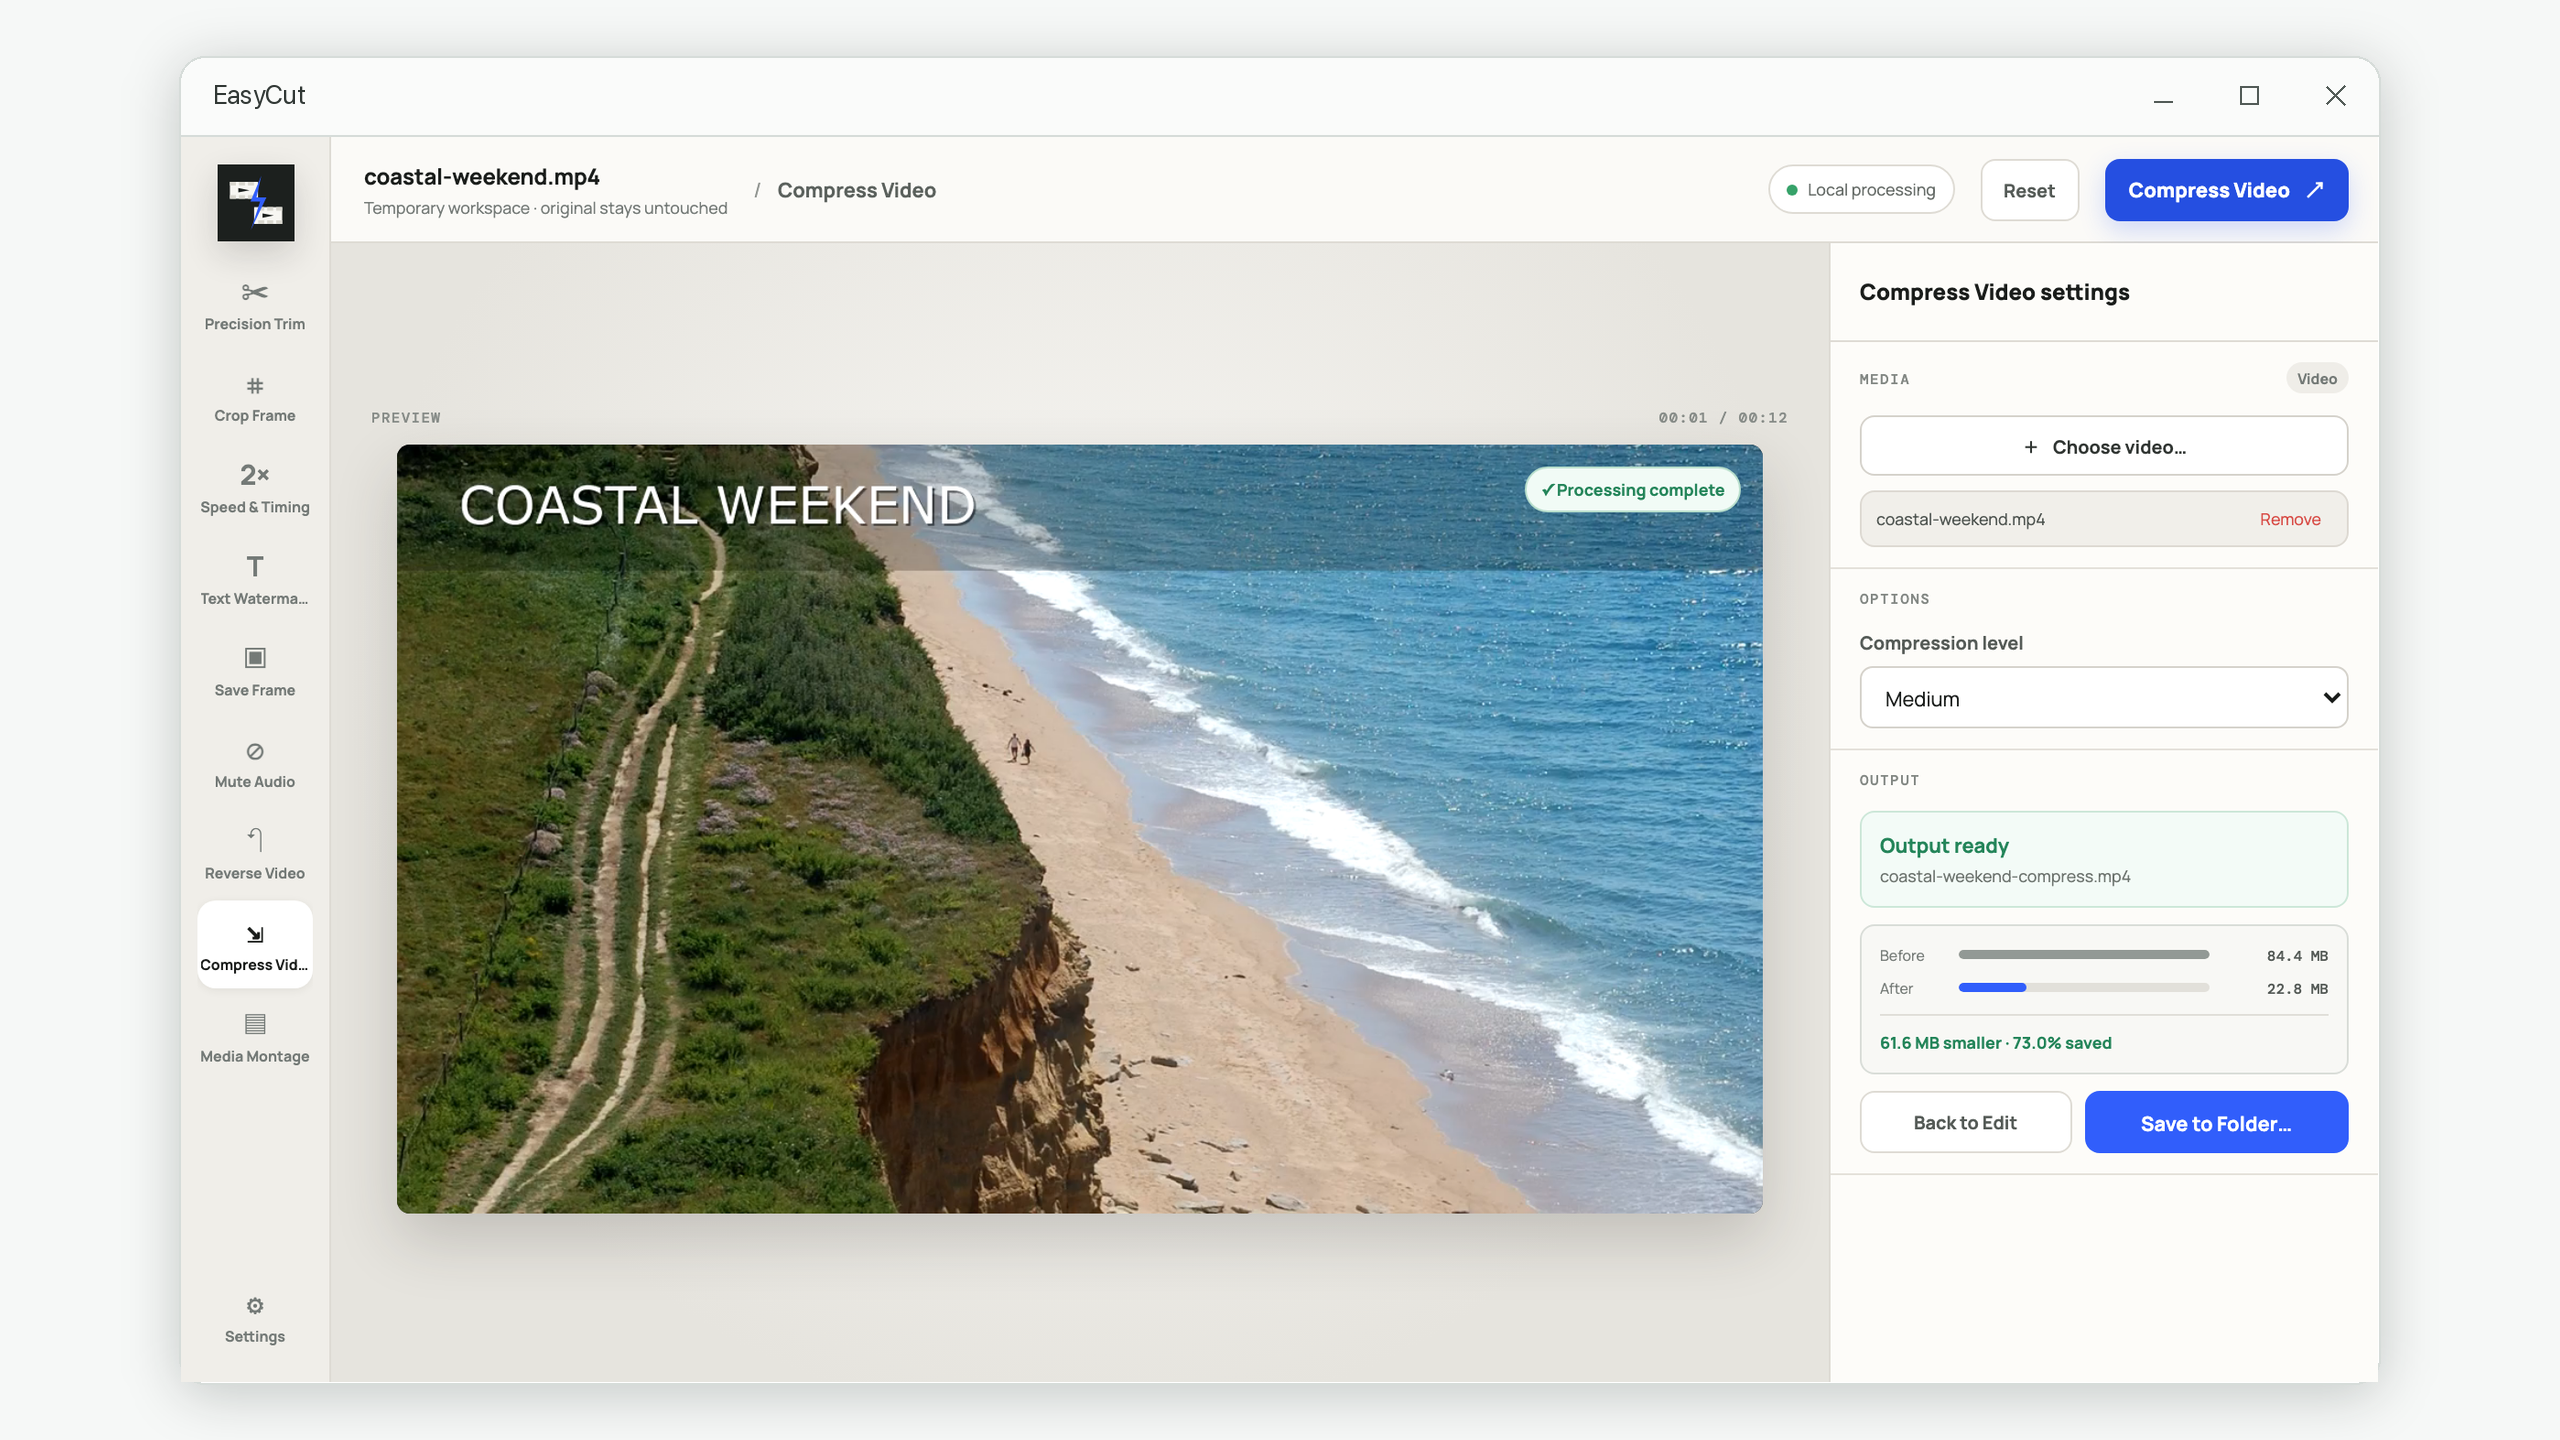
You can apply this workflow with any editor that gives you predictable output choices. EasyCut provides Low, Medium, and High compression levels and shows the source size, output size, and saving percentage after processing. Use a short test when the footage is important, then process the full video locally once you are satisfied.
If changing dimensions is part of the job, read why cropped videos look wrong before deciding whether you should crop, resize, or add padding. Those operations solve different problems.