Trimming sounds simple: remove the unwanted beginning or ending and keep the useful middle. Yet a quick trim can create three common problems—a soft-looking export, a cut that starts too late, or a first frame that briefly shows the previous scene. Those problems come from how compressed video is stored, not from your inability to drag a timeline accurately.
Short answer: keep the source file, make one trim from that source, use a direct-copy trim when exact frame boundaries are not critical, and re-encode only when you need frame-perfect cuts or a different output format.
What “without losing quality” actually means
There are two ways an editor can produce a trimmed file. It can copy the existing video and audio data into a shorter container, or it can decode and encode the selected section again.
- Stream copy is fast and does not recompress the picture. It is the closest thing to a lossless trim, but the cut may need to begin near a keyframe.
- Re-encoding can cut at an exact frame and can repair compatibility issues, but it creates a new compressed version. With sensible settings, the visual difference may be hard to notice, but it is not mathematically identical.
If your goal is to remove a long pause from the beginning of a casual clip, stream copy is usually the right first attempt. If you are matching a spoken word, musical beat, or exact animation frame, a frame-accurate re-encode may be worth the extra processing.
Step 1: decide what the clip must communicate
Do not begin by dragging handles. Watch the full section once and write down the moment the useful action begins and ends. Ask what a new viewer needs in order to understand the clip.
A cooking clip may need half a second before the knife touches the food. A screen recording may need the cursor to settle before the click. An interview answer may need the speaker’s breath, but not the interviewer’s unfinished question. A clean trim feels intentional because it preserves context, not because it is maximally short.
Step 2: choose the start point
Scrub to the first useful moment, then move slightly earlier. Play from that point. If the clip feels abrupt, add two or three tenths of a second. If the first frame reveals an unrelated scene, move forward until the old scene is gone.
Listen as well as look
Audio often starts before visible action. Cutting at the first obvious frame can remove the first consonant of a word or the attack of a musical note. Play through the boundary with sound on, then repeat with your eyes away from the controls. Your ear will catch abrupt edits that the timeline does not show.
Step 3: choose the end point
Let the important action finish. For speech, keep a short natural pause after the final word. For movement, let the object settle or leave the frame. Ending on motion can feel energetic, but ending one frame before the action resolves often looks accidental.
If the destination platform loops video automatically, test the end against the beginning. A loop usually works best when motion direction, brightness, and audio level do not change dramatically across the join.
Step 4: export once from the original
Repeatedly trimming an exported copy is one of the easiest ways to reduce quality. If the workflow re-encodes each time, every generation compresses an already compressed picture. Return to the original source whenever you change the boundaries.
Use a new filename such as interview-answer-trimmed.mp4. Do not overwrite the source until you have watched the complete result and confirmed that audio, orientation, and duration are correct.
Step 5: inspect the result at three points
- The first two seconds: check for a flash of the previous scene, missing audio, or a frozen opening frame.
- A detailed middle section: look at hair, text, foliage, or fine patterns. These reveal unwanted compression quickly.
- The final two seconds: make sure the last word or movement is complete and the file does not end on a broken frame.
Also check the new file size and duration. A file that is much larger than the source despite being shorter probably went through an inefficient conversion. A file that is unexpectedly tiny deserves a closer quality check.
Why a direct-copy trim may not be frame-perfect
Most video does not store every frame as a complete picture. Instead, occasional keyframes store a full image and the frames between them store changes. A direct-copy edit often begins from a nearby keyframe so the decoder has enough information to reconstruct the picture.
This is why a no-recompression trim can be fast but land a little before or after the requested frame. It is not necessarily a bug. It is a tradeoff between exact boundaries and leaving the compressed video untouched.
Common trimming mistakes
- Cutting while looking only at the waveform: speech and movement need visual context too.
- Removing every pause: the result becomes nervous and harder to follow.
- Exporting over the source: you lose the easiest route back to full quality.
- Judging quality in a tiny preview: inspect at the size viewers will actually use.
- Assuming a shorter video must be a smaller file: export settings can make a short clip surprisingly large.
- The first word or sound is complete.
- The opening frame belongs to the intended scene.
- The final action has enough time to resolve.
- The output orientation and dimensions match the source.
- The source file still exists unchanged.
- You watched the exported file, not only the editor preview.
A practical local workflow on Windows
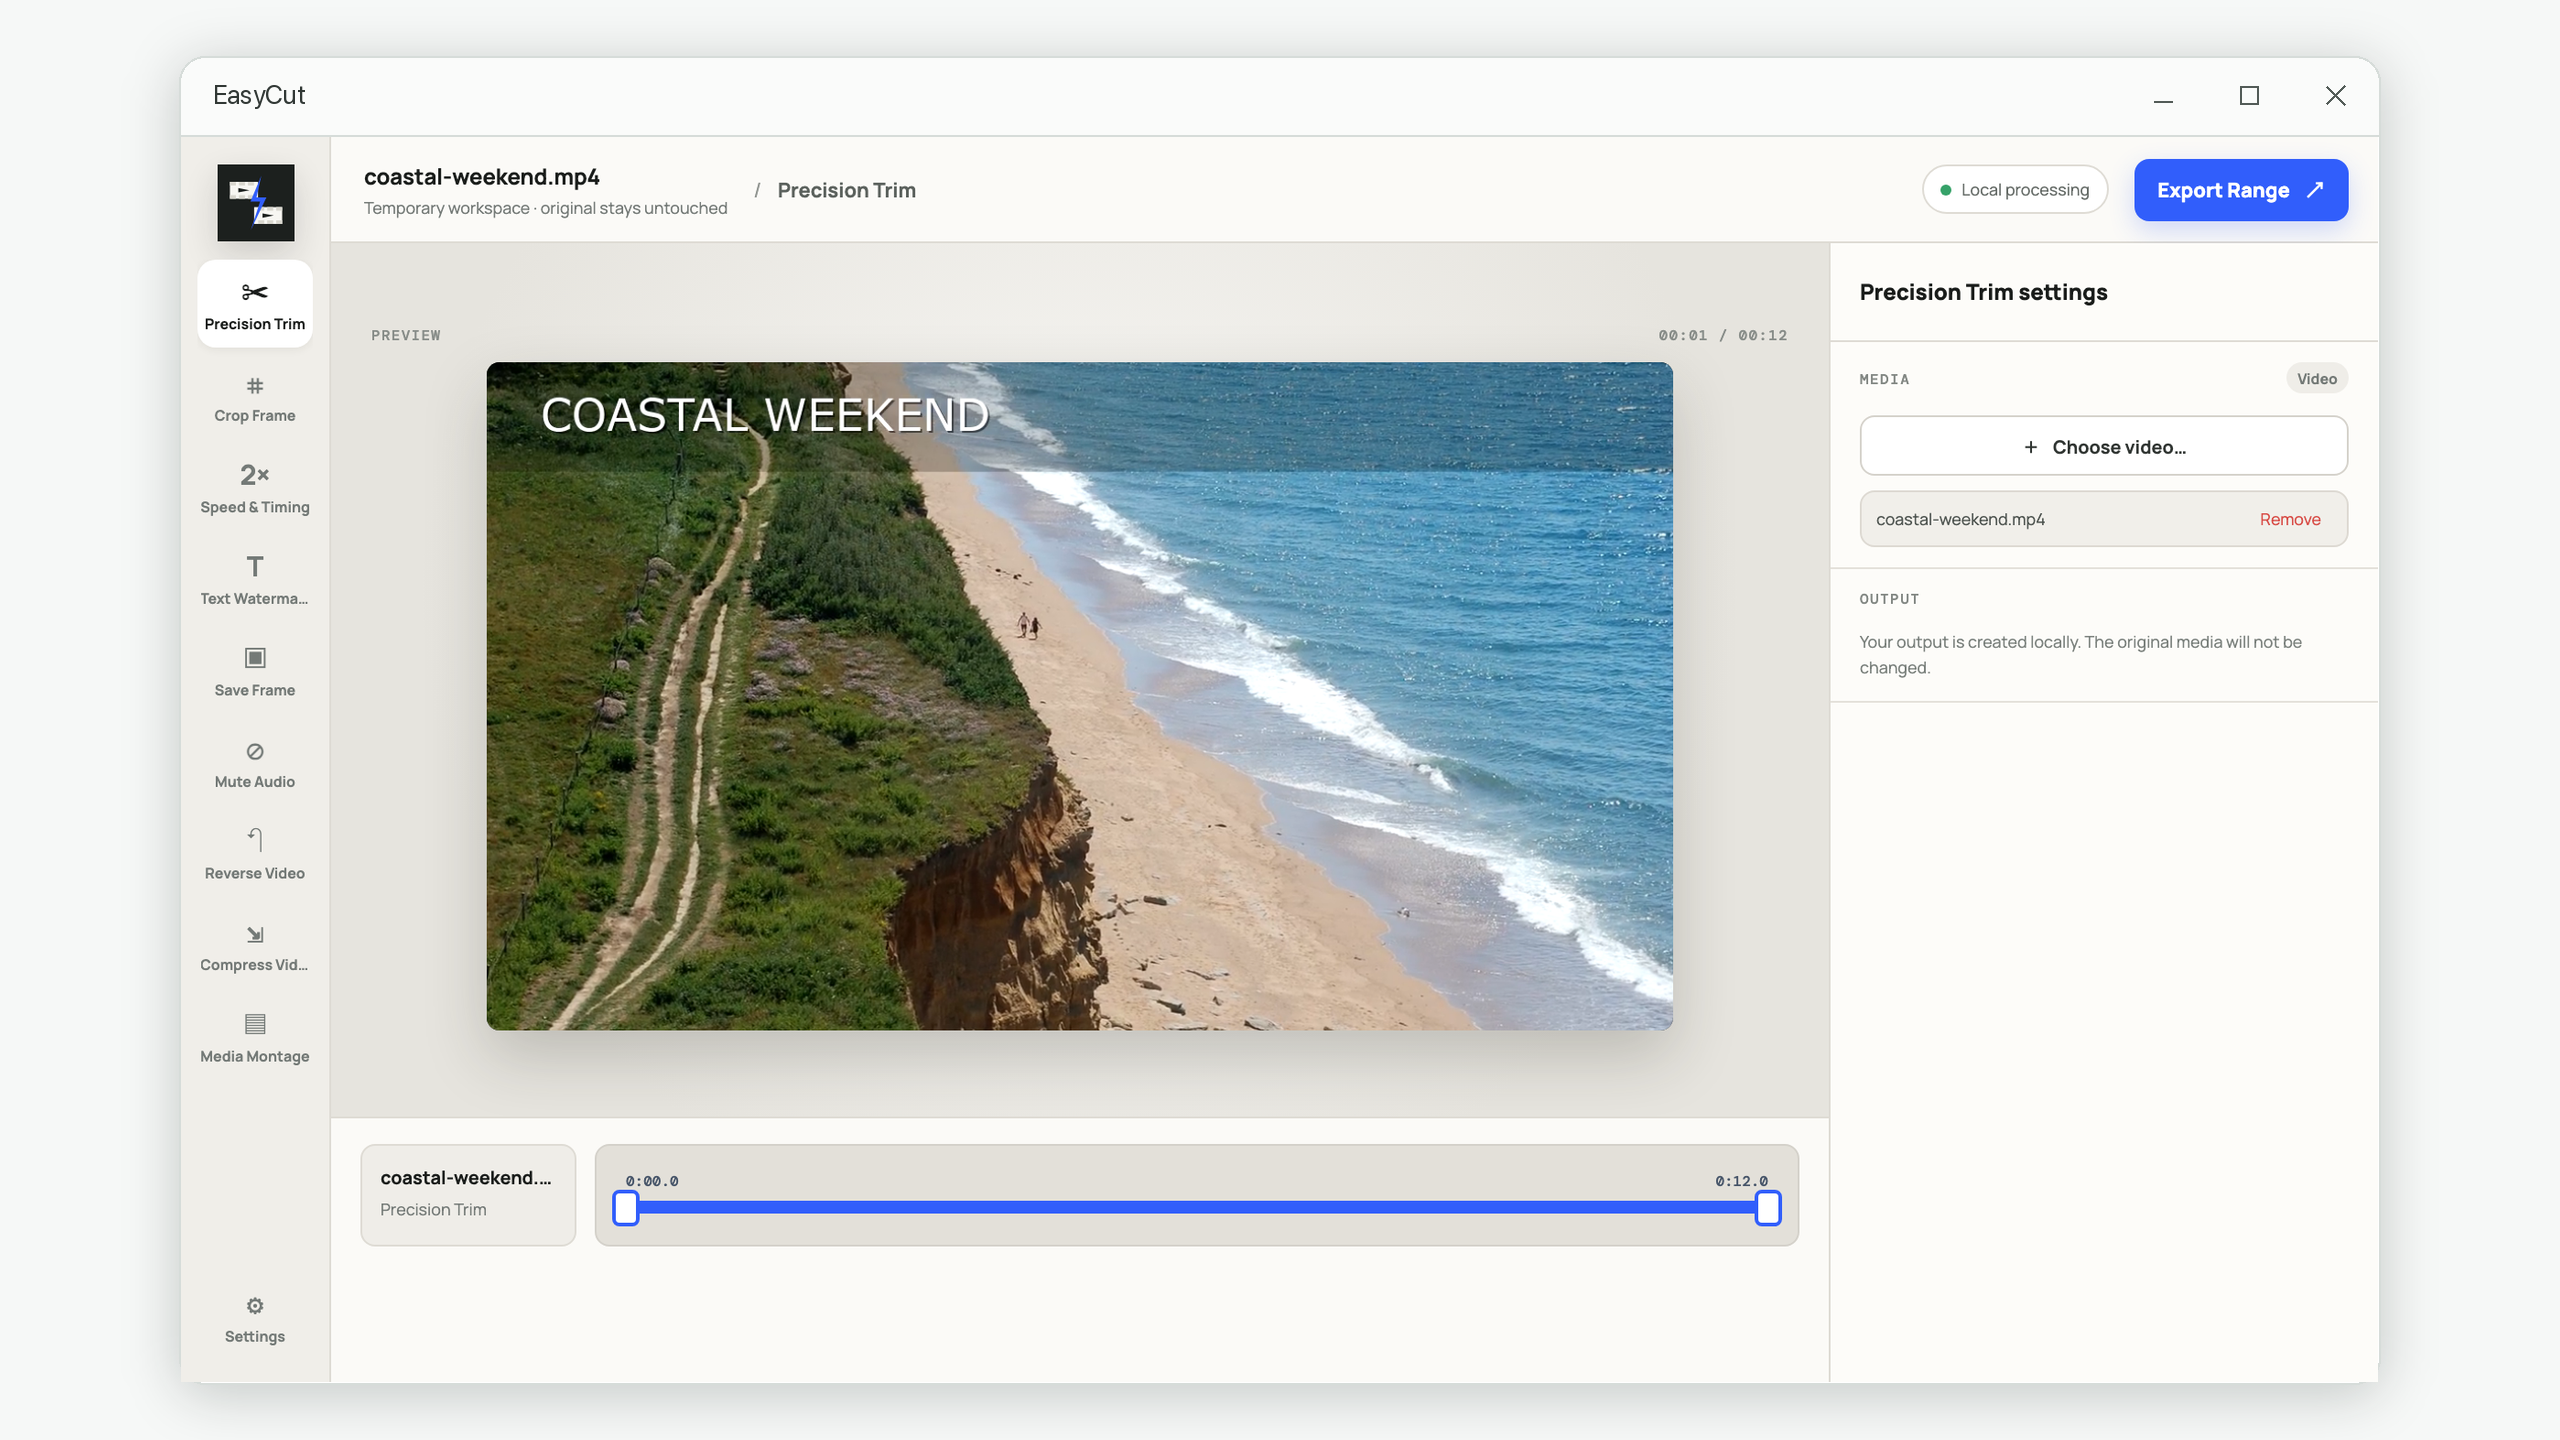
Any editor with a range selector can follow this process. In EasyCut, choose Precision Trim, select the source video, drag the start and end handles, replay the range, and export. Processing happens locally and the original remains untouched. That makes it useful when the job is simply “keep this moment” rather than “build a full editing project.”
If the final file is still too large to send, continue with the video compression guide. Trim first and compress second: removing footage you do not need is the only size reduction that costs no visual detail.