A landscape video can look balanced on a laptop and terrible when forced into a vertical frame. Faces become cramped, hands disappear, captions sit under interface buttons, or the subject walks out of view. The problem is rarely “bad video quality.” It is usually a mismatch between the original composition and the new shape.
Diagnose before you edit: stretching changes the shape of everything, resizing changes the number of pixels, padding keeps the whole picture with empty space, and cropping removes part of the picture. Only cropping can truly recompose the shot.
The first question: where will the video appear?
Choose the destination before drawing a crop. Common shapes include:
- 16:9 landscape for standard video players, presentations, and television-style viewing.
- 9:16 vertical for full-screen phone video.
- 1:1 square for feeds and compact embedded posts.
- 4:5 portrait for a taller feed post that is not full-screen vertical.
The exact platform requirements can change, so confirm them before a final campaign export. The composition principle does not change: define the destination rectangle first, then decide what the frame can lose.
Problem 1: the picture looks stretched
If circles become ovals and faces look too wide or too narrow, the video was resized to a new aspect ratio without preserving its proportions. This is not a crop. The pixels were squeezed into a different shape.
The fix
Restore the original proportions. Then choose one of two honest options: crop the sides or top and bottom to fill the destination, or keep the entire picture and accept padding. Never stretch a person, product, logo, or interface merely to fill the frame.
Problem 2: the subject is cut off
A crop that looks good on one paused frame may fail five seconds later. People lean, gesture, turn, and walk. Screen recordings open menus at the edge. Products move through the composition. A static crop rectangle has to work for the entire selected shot.
The fix
- Place the crop around the most important subject at the beginning.
- Play the entire shot without moving the crop.
- Note every moment the subject approaches an edge.
- Widen or reposition the crop until those moments remain readable.
- If no single crop works, split the video into shorter shots and reframe each one separately.
Do not treat all visible objects as equally important. Protect the face in an interview, the hands in a demonstration, the ball in a sports clip, and the active control in a software tutorial.
Problem 3: the crop feels cramped
Technically keeping the subject inside the frame is not enough. Viewers need visual breathing room. A face touching the top edge, a hand cut exactly at the wrist, or a moving subject with no space ahead of it can feel uncomfortable even when nothing essential is missing.
The fix
Leave headroom above a face and lead room in the direction a subject is looking or moving. Avoid cutting people at joints such as wrists, elbows, knees, or ankles. When reframing a conversation, keep enough of the environment to show where the person is and what they are doing.
Problem 4: captions or controls cover important details
Many viewing apps place titles, captions, profile information, reaction controls, or navigation near the edges. A composition that looks perfect as a clean file can become unreadable once the interface is overlaid.
The fix
Keep faces, product names, instructions, and burned-in captions away from the extreme edges. Use a generous internal safe area rather than calculating to the last pixel. Preview the video in the real destination when possible, not only in the editor.
Problem 5: the result is blurry after cropping
Cropping removes pixels. If you take a small central area from a 1080p source and enlarge it back to 1080p, the software must stretch fewer pixels across the full output. The closer the crop, the less real detail remains.
The fix
- Start with the highest-quality source available.
- Avoid aggressive digital zoom unless the destination is small.
- Do not crop and enlarge the same clip repeatedly.
- Export once from the original after the framing is final.
- If the source is already small, consider padding instead of filling the frame.
Crop, resize, or pad?
Choose based on what must be preserved:
- Crop when filling the destination matters more than showing every edge of the source.
- Resize proportionally when you need fewer pixels but want to keep the same shape.
- Pad when every part of the original must remain visible and empty space is acceptable.
A slide presentation often benefits from padding because every label matters. A talking-head clip can usually tolerate cropping because the empty room at the sides is less important than filling a vertical screen.
A repeatable reframing workflow
- Confirm the destination aspect ratio.
- Identify the primary subject and any secondary detail that must remain visible.
- Draw the crop on a representative frame.
- Play the full shot and watch all four edges.
- Leave safe space for captions and player controls.
- Export a short sample and inspect it on the destination device.
- Return to the original source for the final export.
- Faces and circles retain natural proportions.
- The subject stays inside the crop for the full shot.
- Important gestures, labels, and products remain visible.
- There is enough headroom and movement space.
- Captions and app controls will not cover key details.
- The output does not rely on excessive enlargement.
Reframing locally on Windows
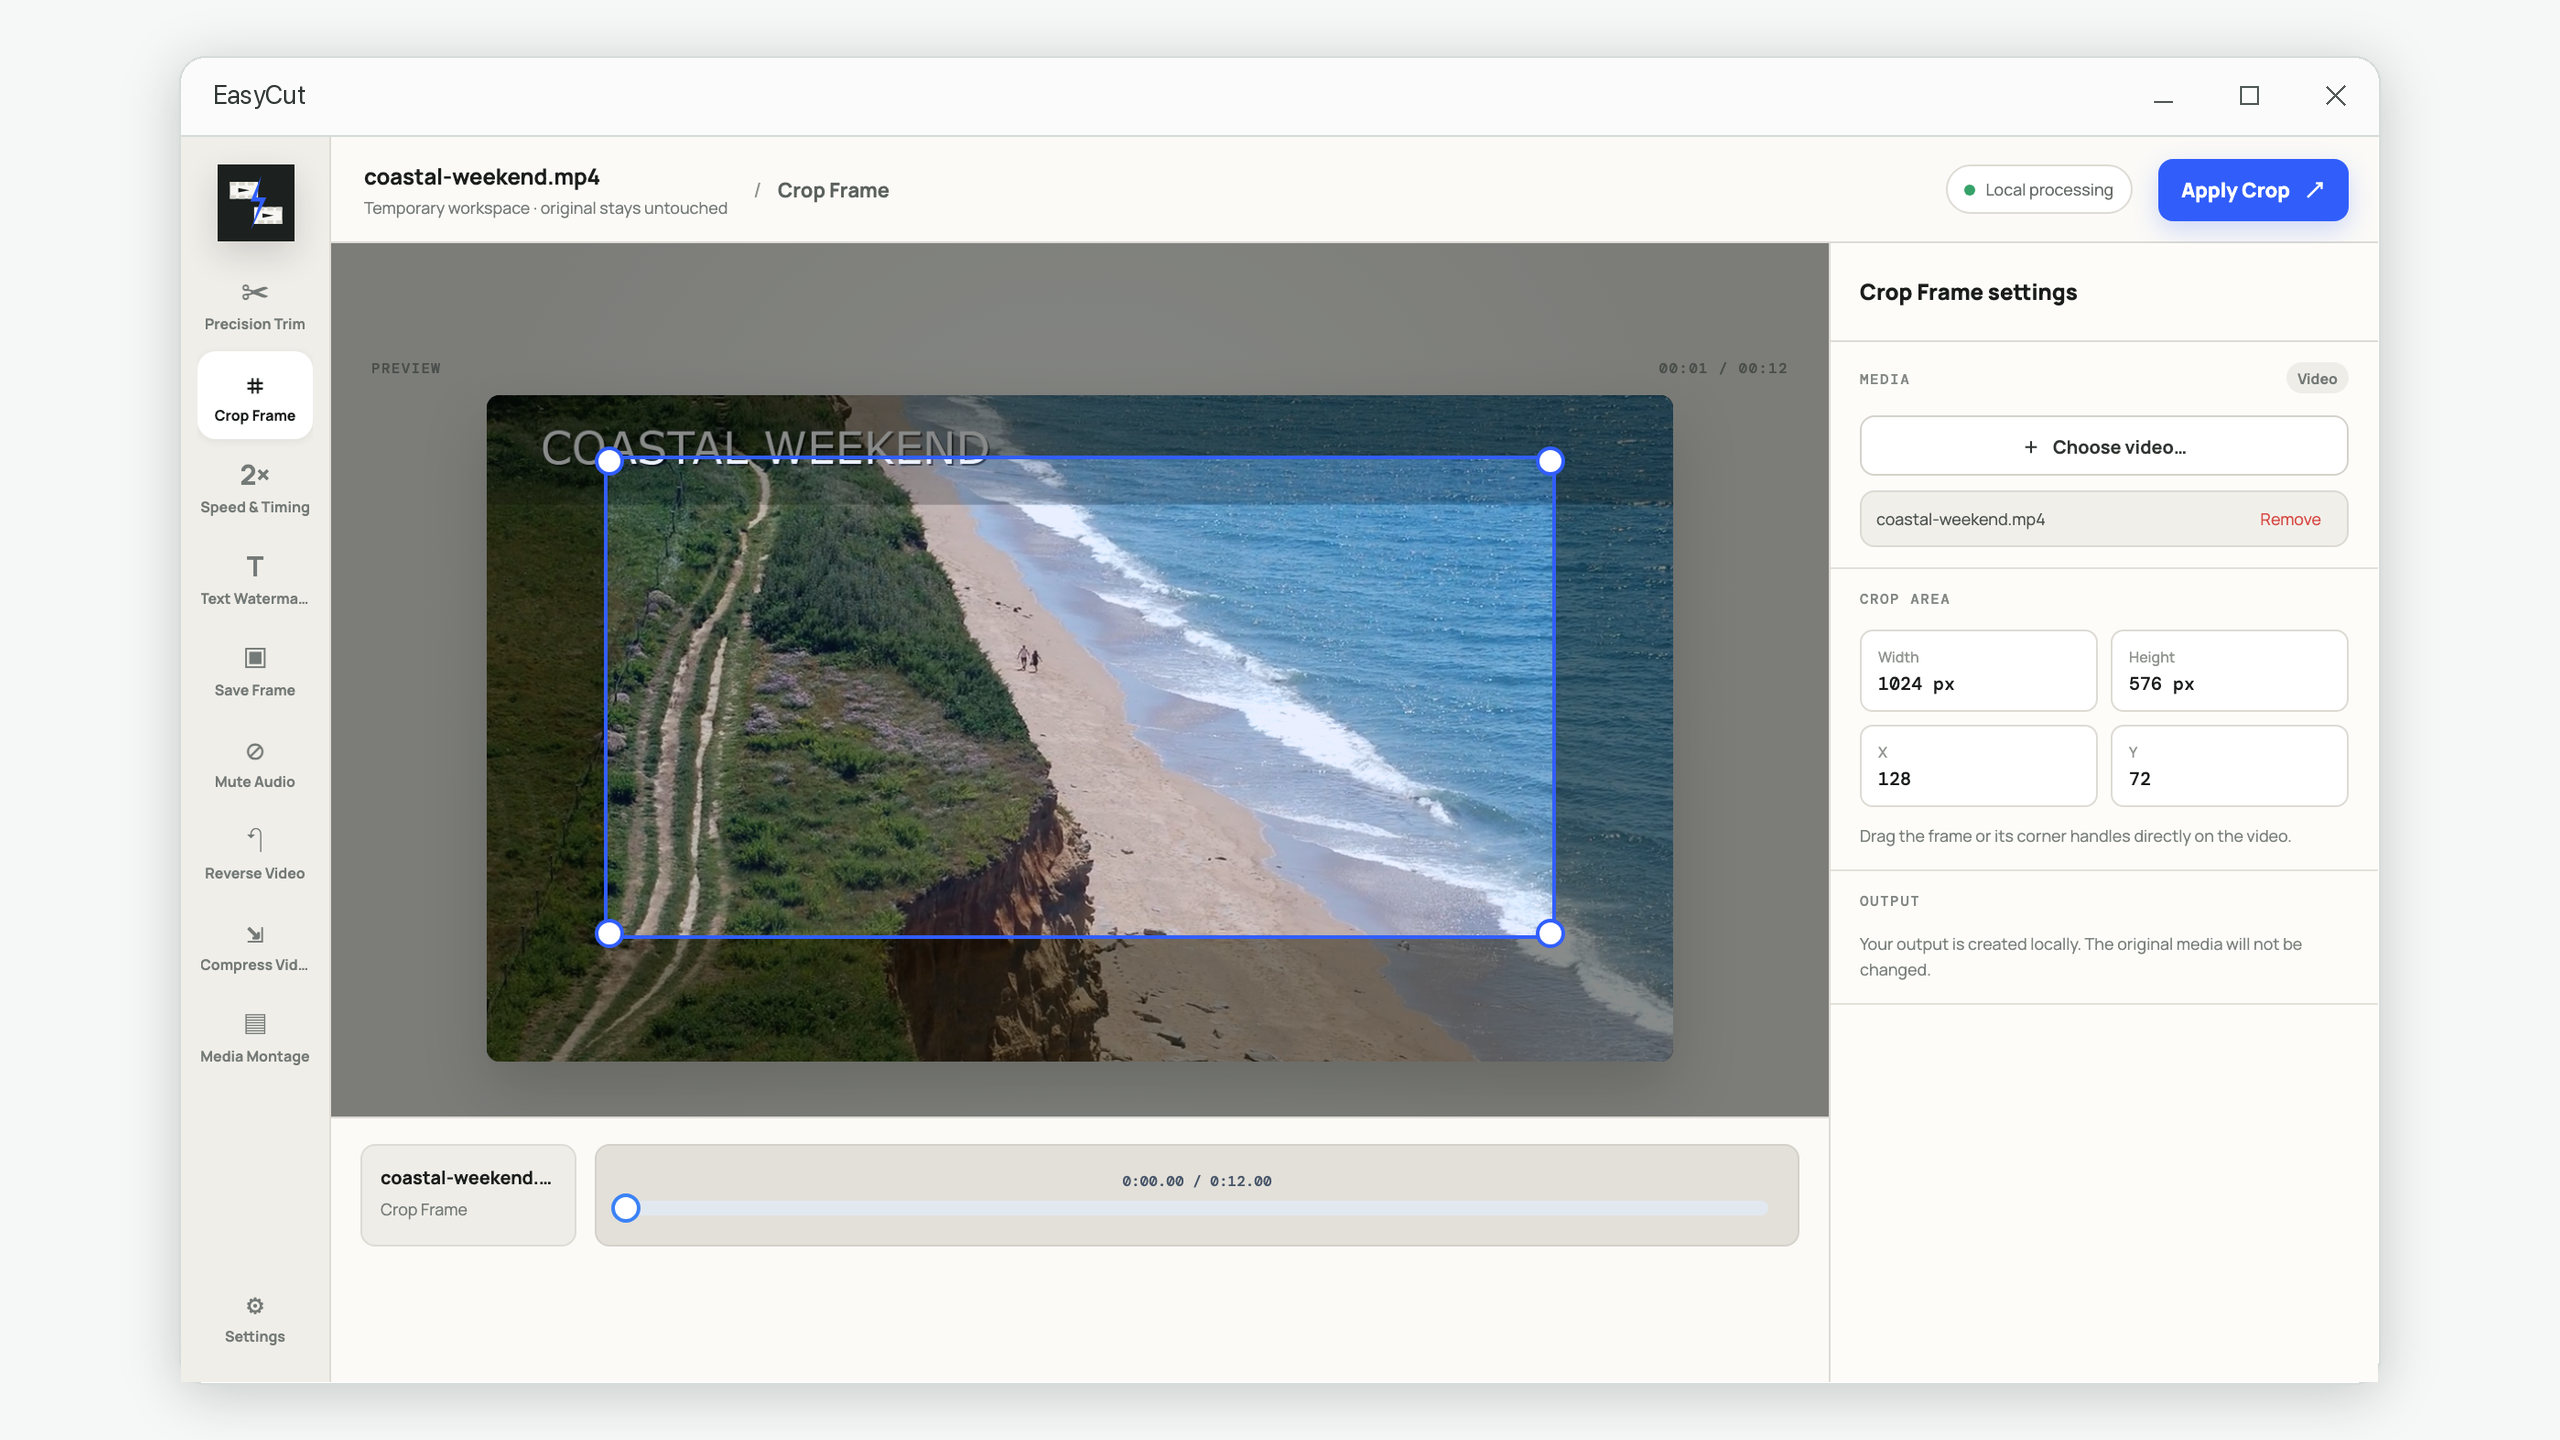
You can follow this method in any editor with a visible crop tool. EasyCut’s Crop Frame lets you drag and resize the selection directly over the preview, then exports a separate file locally. Use the preview to make the composition decision, but always watch the exported result from beginning to end.
If several landscape photos and clips need to become one sequence rather than one crop, see how to make a video from photos and clips. Planning a common orientation before arranging the material will save substantial rework.